Tips to Plant Prickly Pear Cactus Seeds and Cuttings
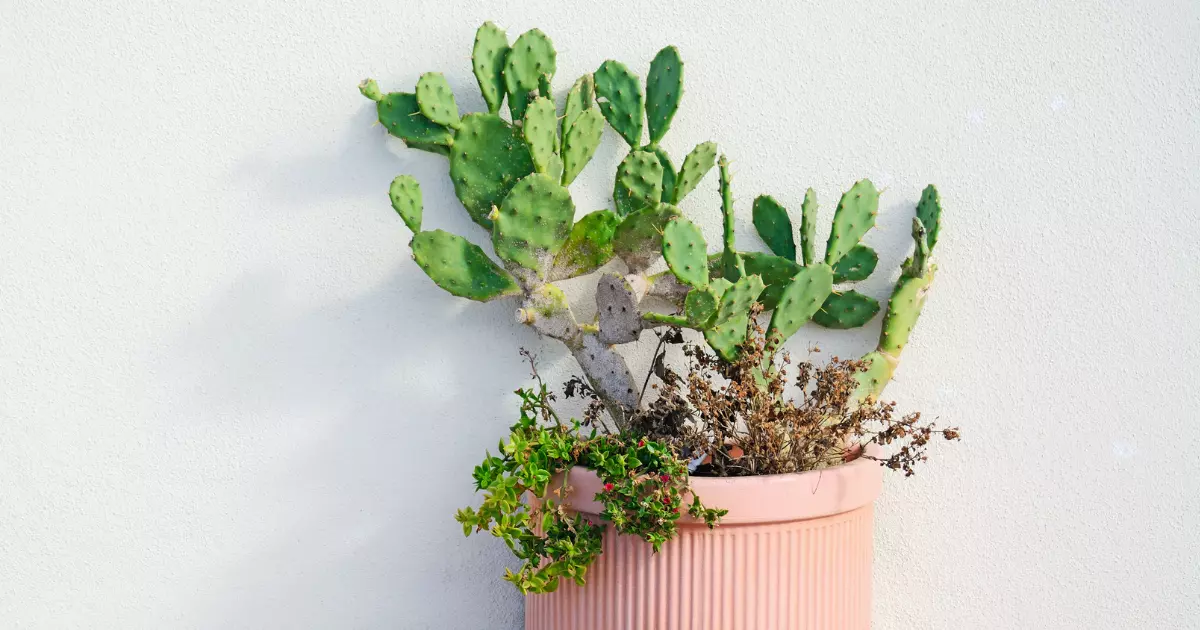
In this guide, we’ll explore the rewarding experience of cultivating prickly pear cactus in containers. Our focus will be on two beginner-friendly propagation methods: germinating seeds and rooting pad cuttings. Both techniques offer a gratifying journey into plant care.
You’ll gain insights into selecting the ideal soil mix tailored for cactus growth, understanding the delicate balance between sunlight and shade, and mastering the art of watering these resilient, drought-tolerant plants. So, put on those gardening gloves, and let’s embark on this green journey.
Growing Prickly Pear Cactus 🌵
The best way to grow a prickly pear cactus depends on your specific requirements and the environmental conditions in your area. Here’s an explanation of the two options and when each one may be the best choice:
Why Plant Prickly Pear Cactus Pad Cuttings:
- Ideal for: Gardeners looking for a straightforward and reliable method to grow prickly pear cacti.
- Why: Pad cuttings have a higher success rate compared to growing from seeds in containers. They are essentially mature cactus pads that can be planted directly into the soil. This method is best if you want faster results and a higher probability of success, especially if you’re a beginner or have limited experience with cacti.
- When to Choose: Consider growing from pad cuttings if you live in an area with a climate similar to the cactus’s native environment, which includes arid and sunny conditions. This method is also suitable if you want to create an immediate landscaping impact, as pad cuttings can establish themselves relatively quickly.
Why Plant Prickly Pear Cactus Seeds Found in Its Fruits:
- Ideal for: Enthusiasts who enjoy the process of nurturing plants from their earliest stages and are willing to invest time and patience.
- Why: Growing from seeds offers a more complete and educational experience. It allows you to witness the entire growth cycle of the prickly pear cactus, from germination to maturity. While it may be more challenging and time-consuming, it can be highly rewarding for those who appreciate the journey.
- When to Choose: Opt for growing from seeds if you have a controlled environment such as a greenhouse where you can closely monitor and control conditions. This method is suitable for educational purposes, experiments, or if you enjoy the challenge of starting plants from scratch.
Tips to Plant Prickly Pear Cactus Cuttings
Based on my experience, propagating a prickly pear cactus from pad cuttings is not only rewarding but also incredibly straightforward, with a near 100% success rate for beginners.
Here’s how you can do it successfully in containers:
1. Select the Cutting
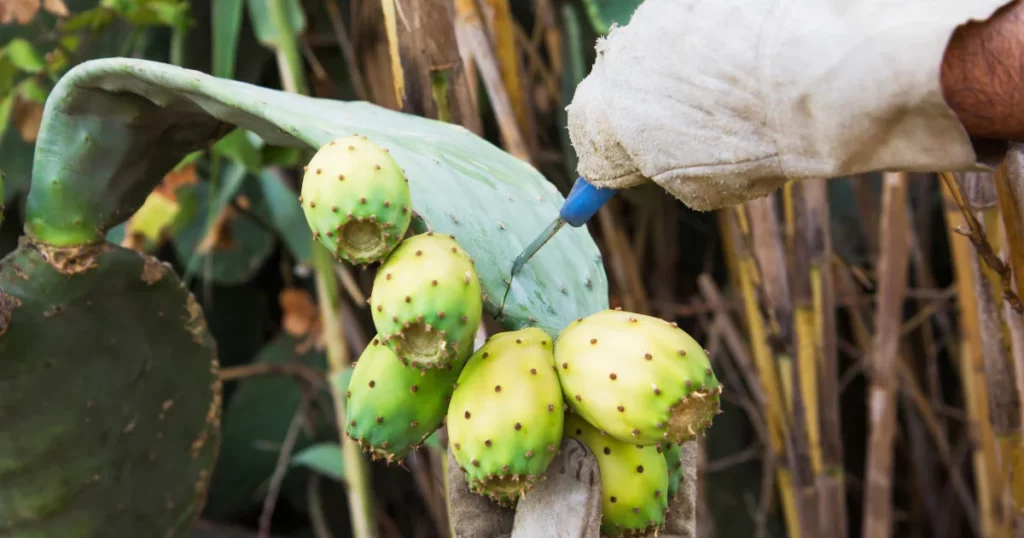
Choose a healthy, mature prickly pear cactus that’s actively growing. Wear gardening gloves and cut a pad that’s at least an inch long and free from disease. Avoid pads that are blooming, as they’re focused on flowering. Carefully twist the pad off at its natural seam, using heavy-duty gloves for protection. If it’s stubborn, a clean knife can help to cut it free.
2. Dry the Cutting
After removal, let the cutting dry on a flat surface in a room with a constant temperature of around 60 °F (16 °C) or higher. This drying period should last about 7 to 10 days, allowing callus tissue to form over the cut edge, which is essential to prevent rot later.
See Also: Vegetables to Grow in Winter
3. Prepare the Soil
While your cutting is drying, get its future home ready. Choose a small container that fits the size of your cutting and fill it with well-draining soil, like a succulent mix. Ensure the soil surface is smooth and flat.
4. Plant the Cuttings (Pads)
Once the pad has callused, it’s time to plant it in the container. Make a hole in the soil about the size of the cutting’s base and insert about one-third of the pad into it, cut side down. If it’s too large to stand, lay it on its side with the callused edge in the soil. Mist the soil to keep it moist but avoid wetting the cutting’s top.
Can you put cactus cuttings straight into the soil?
Yes, you can put cactus cuttings straight into the soil, but it’s important to let the cut end callous over for a few days to a week before planting to prevent rotting.
Also Read: Fastest Way to Root Dragon Fruit Cuttings
5. Place the Container in Filtered Sunlight
Initially, place the cutting in a warm spot with filtered sunlight, misting the soil when it starts to dry. After it establishes roots and grows a bit, you can gradually introduce it to direct sunlight indoors, maintaining regular watering.
6. Reduce Watering
As the cactus establishes itself and shows new growth, reduce watering to about 0.25 inches weekly or bi-weekly, depending on the temperature. Gradually move it to full sunlight indoors, and then outdoors if you’re planting it in the ground.
7. Transplanting
After growing in the container for at least a year, you can transplant your prickly pear cactus in the spring. Choose a sunny spot with well-draining soil. Make a hole in the ground, keeping it as deep as the root ball and twice its width. Water the cactus right after planting and continue with a weekly or bi-weekly watering schedule, depending on the weather.
See Also: Peony Growth Stages with Images
Tips to Plant Prickly Pear Cactus Seeds
Growing a prickly pear cactus from fruit is an exciting journey that involves collecting seeds, preparing them, and carefully nurturing them. As someone who’s been through it, I’m sharing my insights to guide beginners.
Follow this comprehensive guide, laid out in easy steps for container gardeners:
1. Seed Collection and Preparation
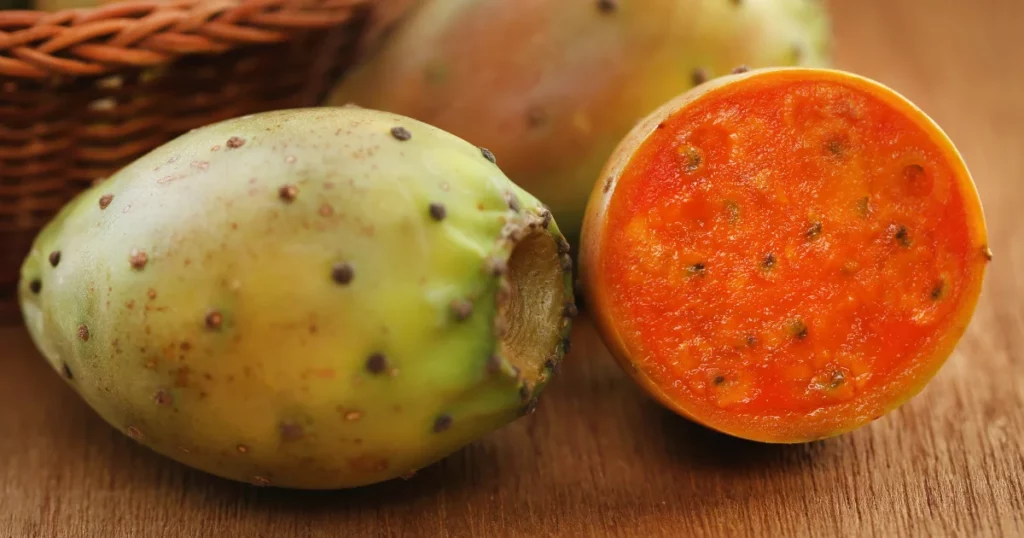
Harvest Seeds: Collect seeds from a ripe prickly pear fruit. Remove them from the interior pulp and rinse them well to remove any fruit residue.
Dry the Seeds: Allow the seeds to dry completely and store them in an airtight container at room temperature until the following spring.
Scarify the Seeds: To improve water absorption, scarify the seeds before planting. This can be done by rubbing them with sandpaper or making a notch in each seed with a sharp knife.
2. Soil Preparation
Potting Mix: Use a cactus potting mix, or create your mix using equal parts of sand, perlite, and coconut coir.
Fill Pots: Fill pots or a cell tray with drainage holes with the cactus potting mix. Moisten the mix well and allow excess liquid to drain off.
3. Planting the Seeds
Sow Seeds: Place the seeds about one to two inches apart or sow them individually in seed-starting cells. Gently push the seeds into the soil to a depth of approximately one-eighth of an inch.
Light Sand Covering: Cover the seeds lightly with sand. They require light to germinate, so do not bury them too deep.
Optimal Location: Keep the pots out of direct sunlight but near a light source. A sunny windowsill or under grow lights can be ideal.
Also Read: How Far Apart to Plant Tomatoes in CM
4. Creating the Right Environment:
Moisture and Ventilation: Wrap the container with plastic to retain moisture but leave a corner open for ventilation. A humidity dome can also be used with one side propped up to vent out trapped heat and excess moisture.
Temperature: Maintain a consistent temperature around 75 to 80°F (24 to 27°C). Mist the soil gently if it feels completely dry, but avoid overwatering.
5. Germination and Growth
Germination Time: It can take from a few weeks to over six months for the seeds to germinate. Once they sprout, they grow rather slowly.
Transplanting: Seeds can be direct-sown outdoors in early spring, after the risk of frost, or when the seedlings have grown enough, they can be transplanted into larger pots or the ground.
6. Caring for Seedlings
Light Exposure: Adjust the location based on the seedlings’ color. Yellowish seedlings need more light, while red or brown ones need less. Green seedlings are typically content.
Continued Care: Keep the soil moist but not wet and adjust the light exposure as needed. The seedlings will continue to grow slowly and may take more than a year before they’re ready for a final transplant.
Must Read: Best Gardening Tools Names with Pictures
FAQs
How do you make prickly pear cactus grow faster?
To boost the growth rate of prickly pear cacti, ensure they bask in ample sunlight for at least 6 hours daily. Employing a soil composition that facilitates efficient drainage is crucial to avert root rot.
The cacti should be watered judiciously, with intervals allowing the soil to fully dry. Maintaining proper airflow around the plants prevents pest infestations and fungal issues.
Fertilization should be minimal, ideally with a half-strength, balanced cactus feed, and occasional pruning in early spring can invigorate new growth. Propagation can be achieved through either seed sowing in warm, sunny conditions or using mature cactus pads.
How fast do prickly pear cactus grow?
The growth rate of prickly pear cactus varies depending on the species and growth conditions, but under optimal conditions, it typically grows about 3-6 inches in height and width each year.
Also Read: Can You Grow Peonies Indoors?
Conclusion
In this guide, we’ve explored the intriguing processes of planting and growing prickly pear cactus, both from pad cuttings and from the fruit (seeds). Each method offers unique steps and considerations, providing an enriching experience for gardening enthusiasts.
Please feel free to share your experiences and feedback on this article, and any tips you might have for fellow gardeners 👨🌾. Happy gardening! 🌞
Citations:
Prickly Pear Cactus - UC ANR Small Farms Network
Opuntia - Wikipedia
Prickly pears bloom for pollinators - Illinois Extension | UIUC